

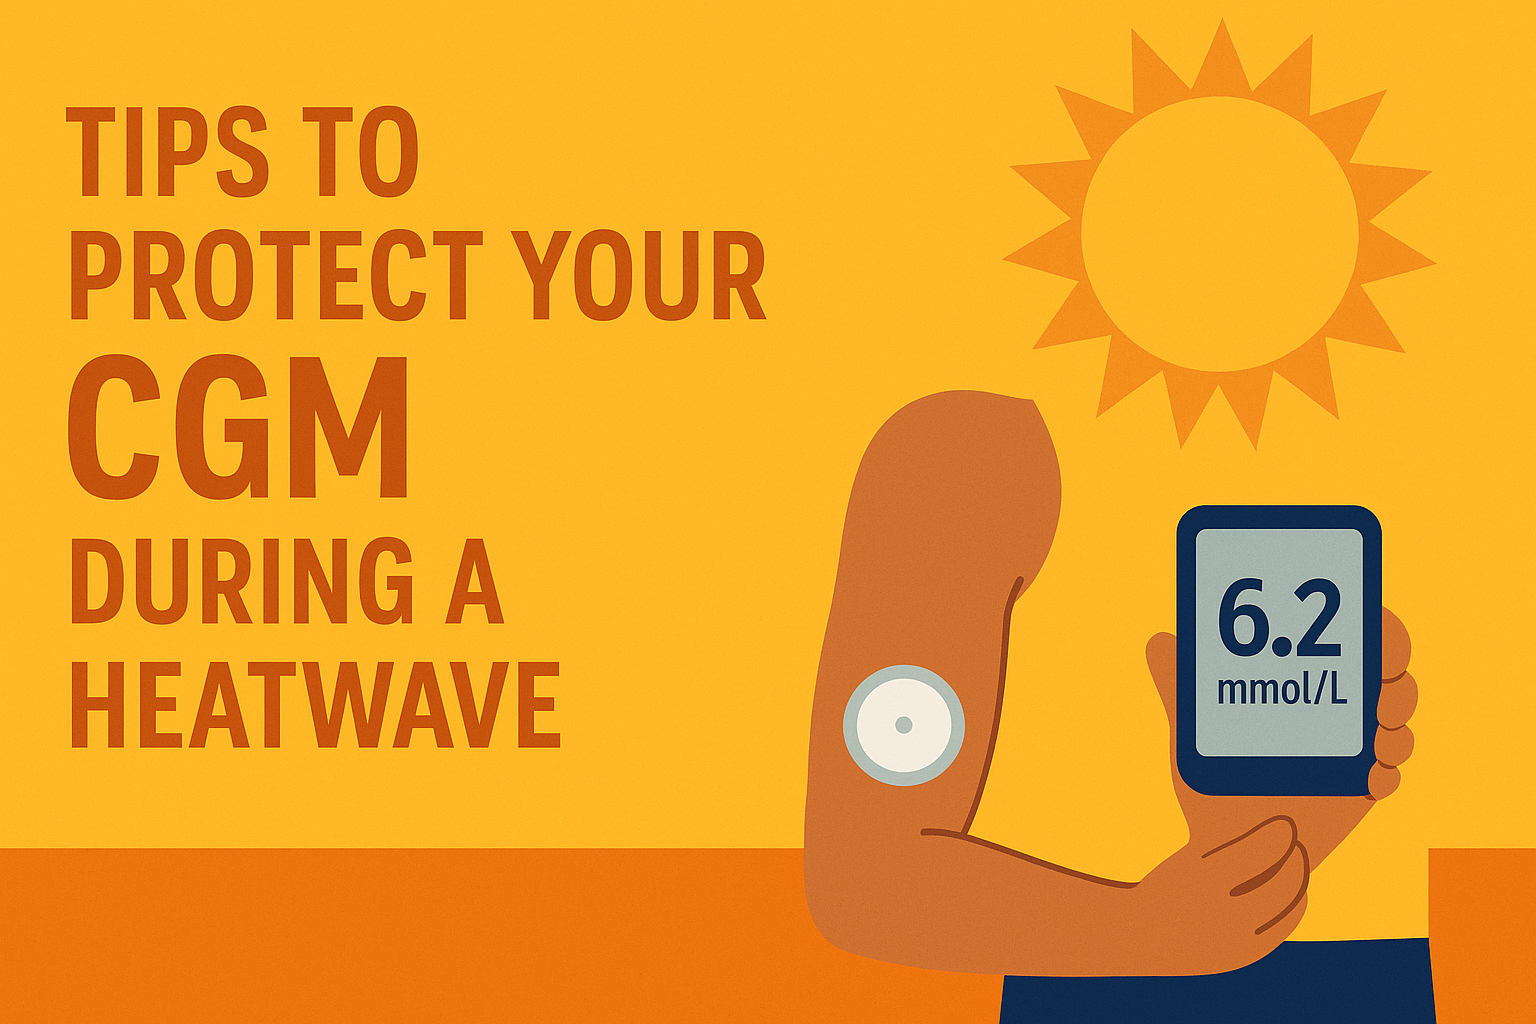
Looking to prevent your sensor falling off? We’ve put together our top 10 suggestions to enable you to get the maximum use of your CGM.

Many users of CGM will have problems with sensors falling off and it’s a common question to ask, how do I get my sensor to stick?
Getting your sensor to stick will depend on your attachment technique and the condition of your skin. Good preparation will go a long way to improving the chances of the sensor sticking and by following these tips you should get full use of your CGM.
Don’t forget that we’re all individuals and our skin changes on a daily basis and also throughout the day depending on our activities and other external factors.
Good luck!
#1 Keep hydrated
The important role that hydration plays in keeping a sensor attached cannot be stressed enough. The skin is the largest organ of the body but is the last to absorb water and although drinking water is the main means by which we hydrate, there are other factors that ensure there is adequate fluid in the cells of our body.
Dehydration is often the result of external factors such as our environment, quality of sleep, diet and caffeine consumption. These can change constantly and vary from person to person. Such factors can have an impact on the stickability of a sensor to the skin, not only when first applying it, but on a daily basis too.
#2 Remove hair
To get good skin contact with a sensor it may be necessary to remove the hair from a small area of the arm. If the hair is particularly curly, thick, or coarse, you may consider trimming the hair with scissors before using a razor on the area.
Always lubricate the skin on the arm with shower gel or soap and, if possible, exfoliate beforehand to remove dead skin. This will help to reduce the likelihood of any irritation associated with shaving.
It’s also best to follow these steps 1-2 days before applying the sensor.
#3 Exfoliate
It’s important to exfoliate before applying your sensor as this will remove any dead skin cells from the outer layers of the skin. Exfoliation also increases blood circulation, brightens the skin’s appearance and will improve adhesion to the sensor. When exfoliating, you shouldn’t use hot water, lukewarm is recommended.
If you have sensitive skin, avoid scrubbing. It’s best to use a mild exfoliator and a gentle washcloth. On the other hand, oily skin can have an extra layer of build-up on the surface and require more manual exfoliation, perhaps using a circular scrubbing technique.
#4 Limit moisturisers
Moisturisers, shower gels and perfumed soaps can all be the cause of a sensor failing to hold and scented soaps and harsh chemicals can dry out the skin, causing itchiness around the sensor site.
Avoid using these types of products and wash with a non-perfumed soap or shower gel. Ensure the skin is completely dry before applying a sensor.
Another factor to consider is that the use of moisturisers can be delaying the natural renewal process that skin is continually going through.
#5 Position on tricep
The position recommended for most CGM is the back of the upper arm. The sensor will sit better on a flat ‘fleshy’ area of the tricep. Avoid positions where the sensor will be easily knocked. It’s a good idea to alternate arms and position each time the sensor is changed, position at least 2cm away from where the last sensor that was on that arm.
If the sensor is applied at an odd angle or in a place not approved by the manufacturer, it can cause the filament to bend and can lead to inaccurate readings.
#6 Apply when glucose levels are stable
Glucose levels calculated from a sensor are sometimes unreliable within the first 24 hours after application. The insertion of the filament causes a small trauma for the body and as the filament settles and layers of skin repair, glucose levels should become a better reflection of blood glucose levels.
Having stable glucose levels makes it more likely that readings will be in accordance with blood glucose from the outset. Some users recommend attaching a new sensor 24 hours before activating to allow time to settle.
#7 Use both Alcohol Wipes and Allow to Dry
Alcohol wipes help to remove excess oil from the surface of the skin and to kill any bacteria found there as otherwise these can cause an infection under the skin. This is especially important as the application process involves a needle puncture to insert the filament.
Use both wipes to sterilise the skin before applying the sensor and allow the skin to air dry – don’t be tempted to blow on the area to speed up the drying process as this can introduce bacteria to the area.
#8 Hold in place for 20 Seconds
Always hold the applicator firmly in position for around 20 seconds to allow for the tape to adhere to your skin. Then, gently press around the edges of the Libre adhesive to ensure it is properly bonded to the skin.
Remember everybody’s skin is different and some of us will need additional support to hold on the sensor. Some wearers use tape to hold it down but this type of use may not be covered by the manufacturer’s warranty.
Using a armband eg. Libreband or Dexband, offers a comfortable means to secure a sensor and can be taken on and off as often as necessary. Librebands are durable and don’t curl or wear in the same way as stickers, tape or patches.
#9 Don’t sweat it! (too much)
To allow for good adhesion of the sensor to the skin, wait at least one hour after application before exercising, playing sport or getting it wet. Sweat can weaken the adhesion, especially where it is ‘dripping’ down the arms.
Hot showers or baths can affect the flow of blood in the body and raise glucose readings temporarily. Fluctuating skin temperatures can therefore have an affect the outer layer of skin and its elasticity, so may cause the glue holding the sensor on to become unstuck.
Sun creams and aftersun moisturisers can also affect the skin’s grip to a sensor. In hot conditions, you may need to consider additional support to hold the sensor on.
#10 Protect with a Armband
Libreband® and Dexbands are armbands designed to protect sensors from knocks whilst transforming the look of a medical device into a sports accessory and give it some style!
These can be worn when exercising, playing sports, swimming or at day or night – for wherever or whenever you’re likely to accidentally knock the sensor.
The armbands are durable and can be worn as and when needed, unlike patches and stickers. The strap is made from neoprene and is fully adjustable to ensure a comfortable fit.
Note that applying barrier creams, patches or sprays for adhesion with a Libre sensor have not been tested by the manufacturer and might affect the performance of the sensor and cause irritation to the skin.
Download the PDF of all tips here.

Disclaimer
Love My Libre is not associated or affiliated with Abbott or FreeStyle Libre. Content here and on our website www.lovemylibre.com does not constitute medical advice or replace the relationship between you and healthcare professionals nor the advice you receive from them.
The author of this blog has type 1 diabetes and uses the FreeStyle Libre 2 which is provided on NHS prescription.
FreeStyle Libre is a registered trademark of Abbott Diabetes Care Inc.
Blogs and publications on this website are independent of any involvement by medtech companies or diabetes related charities. To ensure there is no bias, we do not accept any products, freebies or other material from any medtech provider. All materials are copyright©️Love My Libre Ltd.


Leave a comment (all fields required). Please note, we are unable to respond to individual comments posted here.